Screen recording on Windows can seem tricky at first. Maybe you need to record a tutorial, capture gameplay, or save a video call. Don’t worry! This guide will show you how to screen record on Windows easily and quickly.
Why Screen Record on Windows?
Screen recording is useful for many reasons. You might want to create a video tutorial, record gameplay, or capture a live stream. Windows has built-in tools and free software that make screen recording simple.
Many people find it hard to start screen recording on Windows. They don’t know which tool to use or how to set it up. This guide will help you find the best solution and make screen recording easy.
Steps to Screen Record on Windows
Screen recording on Windows can be done using various methods, but the two most common and effective tools are the Xbox Game Bar and OBS Studio. Here are the steps to help you get started with each tool.
Step 1: Use the Xbox Game Bar

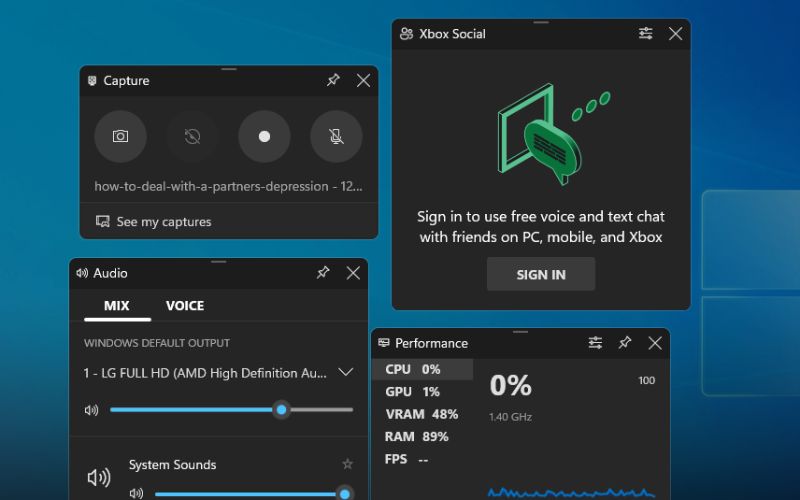
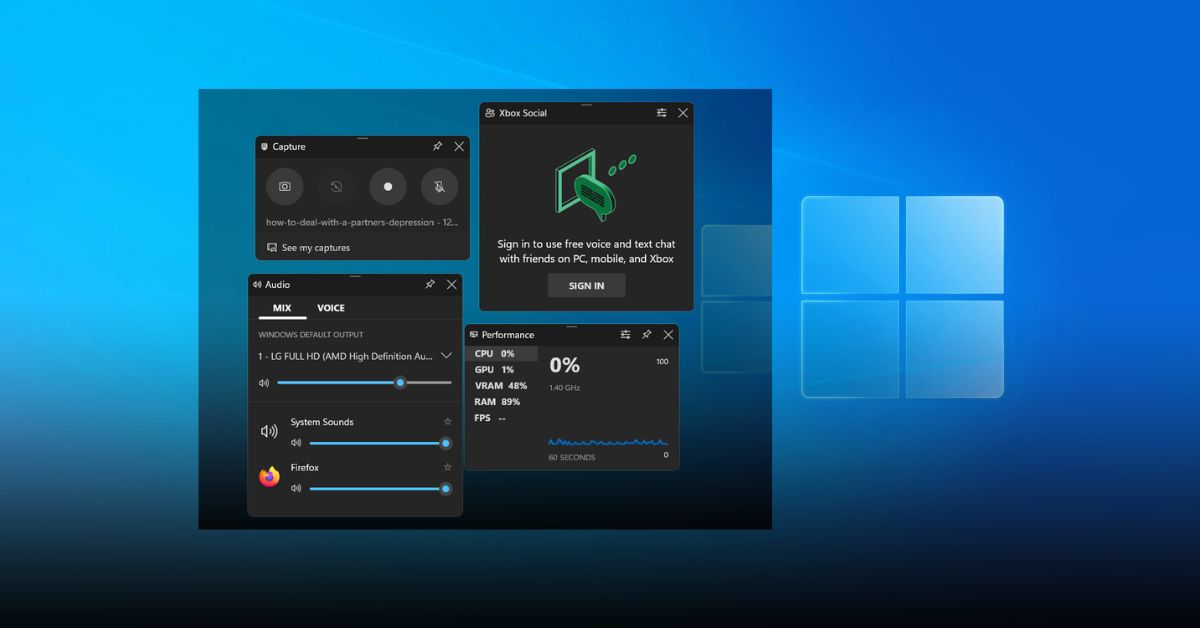
The Xbox Game Bar is built into Windows 10 and 11. It’s a simple way to start screen recording.
- Open the Xbox Game Bar: Press
Win + Gon your keyboard. - Start Recording: Click the “Start Recording” button (the circle icon). You can also press
Win + Alt + Rto start recording immediately. - Stop Recording: Click the “Stop Recording” button or press
Win + Alt + Ragain.
The recorded video will be saved in the “Captures” folder under “Videos.”
Step 2: Use OBS Studio
OBS Studio is a free, powerful screen recording tool. It’s great for more advanced users who need extra features.
- Download and Install OBS Studio: Go to the OBS Studio website and download the installer. Follow the instructions to install it.
- Set Up Your Recording: Open OBS Studio. Click on the “+” sign under “Sources” and select “Display Capture.” Name your recording and click “OK.”
- Start Recording: Click “Start Recording” at the bottom right.
- Stop Recording: Click “Stop Recording” when you’re done.
Your video will be saved in the “Videos” folder by default.
Advanced Tips for Screen Recording
Adjusting Settings for Better Quality
You can change the recording quality in both Xbox Game Bar and OBS Studio. Higher quality means bigger file sizes, but better videos.
- Xbox Game Bar: Go to “Settings” > “Gaming” > “Captures” and adjust the settings.
- OBS Studio: Go to “Settings” > “Output” and choose your preferred quality.
Using a Microphone for Voiceovers
If you want to add voiceovers to your recording, make sure your microphone is connected.
- Xbox Game Bar: Click the microphone icon in the Game Bar to enable it.
- OBS Studio: Add a “Mic/Aux” source in the “Sources” section.
See how to set lively wallpaper in windows.
Conclusion
Screen recording on Windows is easy with the right tools. Whether you use the Xbox Game Bar or OBS Studio, you can capture anything on your screen. Try it out and start creating amazing videos today!
FAQs
Can I screen record without downloading any software?
Yes, you can use the Xbox Game Bar, which is built into Windows 10 and 11.
Is OBS Studio free to use?
Yes, OBS Studio is completely free and offers powerful features for screen recording.
Where are my recordings saved?
For the Xbox Game Bar, recordings are saved in the “Captures” folder under “Videos.” For OBS Studio, recordings are saved in the “Videos” folder by default.
Can I record my voice during screen recording?
Yes, both the Xbox Game Bar and OBS Studio allow you to record your voice if you have a microphone connected.
How can I improve the quality of my recordings?
You can adjust the recording quality settings in both Xbox Game Bar and OBS Studio to get better video quality.
Now you know how to screen record on Windows! Start recording your screen and share your videos with the world.


