
Dyeing Easter eggs is a fun and meaningful tradition enjoyed by families around the world. Whether you prefer bold, vibrant hues or soft, natural tones, there are two main methods to choose from: using food coloring or creating your own natural dyes from plants and spices. This guide walks you through both methods, step by step, and helps you decide which one is right for your Easter celebration.
| Disclosure: This post may contain affiliate links and advertisements. We may earn a small commission or advertising fee at no extra cost to you. Learn more in our full disclaimer. |
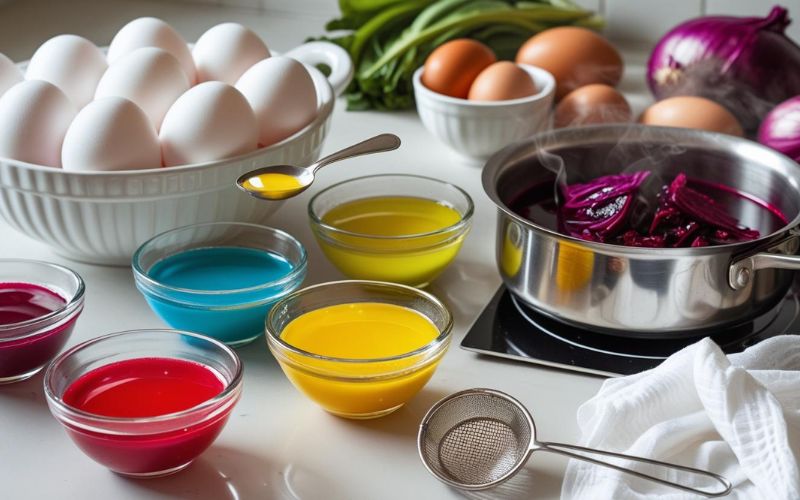
What You’ll Need
For Food Coloring:
- Hard-boiled eggs (or raw eggs, if preferred)
- Food coloring
- White vinegar
- Hot water
- Cups or bowls for dyeing
For Natural Dyes:
- Hard-boiled eggs
- White vinegar
- Hot water
- Natural dye ingredients (see list below)
- Saucepan for boiling plant-based dyes
- Strainer or cheesecloth
How to Prepare the Dye
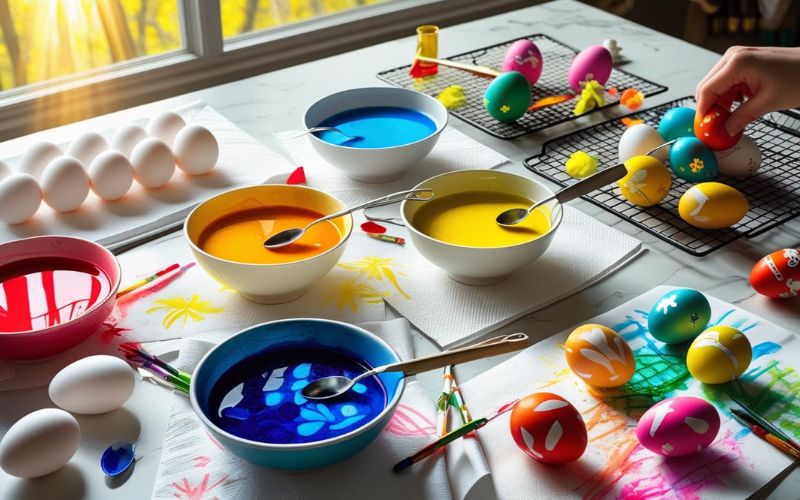
Using Food Coloring (Quick & Bright):
- Mix ½ cup of hot tap water, 1 teaspoon of vinegar, and 10–20 drops of food coloring in a cup or bowl.
- Repeat the process for each color you want to use.
Using Natural Dyes (Eco-Friendly & Rustic):
Boil the following ingredients in 1–2 cups of water with 1 tablespoon of vinegar. Let simmer for 30–45 minutes, then strain and cool.
| Ingredient | Color Produced |
|---|---|
| Red cabbage | Blue or purple |
| Onion skins | Reddish-orange |
| Turmeric | Yellow |
| Beets | Pink |
| Spinach | Pale green |
| Coffee or tea | Brown or tan |
💡 Tip: The longer the eggs soak, the deeper the color becomes—overnight works best for natural dyes.
How to Dye the Eggs
- Prepare the Eggs:
- Hard-boil your eggs and let them cool completely.
- For a different effect, raw eggs can also be dyed (just handle carefully to avoid cracking).
- Dye the Eggs:
- Submerge each egg into the prepared dye bath.
- For food coloring: Soak for 5–15 minutes, checking periodically.
- For natural dyes: Soak for at least 30 minutes to several hours, or overnight for richer color.
- Dry the Eggs:
- Remove eggs with tongs or a slotted spoon.
- Let them dry on a rack, wax paper, or paper towels.
- Decorate (Optional):
- Add stickers, washi tape, or paint once the eggs are dry.
- Use crayons or white wax to draw on the eggs before dyeing for fun resist patterns.
Safety Tips
- Use food-safe ingredients if you plan to eat the eggs.
- Store dyed eggs in the refrigerator and consume them within a week.
- Discard any cracked eggs or those left unrefrigerated for more than two hours.
Natural Dyes vs. Food Coloring: A Comparison
| Feature | Natural Dyes | Food Coloring |
|---|---|---|
| Color Vibrancy | Softer, earthy tones | Bold, vivid colors |
| Prep Time | Longer (boiling and cooling needed) | Quick (mix and go) |
| Customization | Limited but beautiful variations | Easy to mix for endless hues |
| Eco-Friendliness | 100% natural and biodegradable | Synthetic, though food-safe |
| Cost | Often free using kitchen scraps | Inexpensive but store-bought |
| Aesthetic | Rustic, traditional, one-of-a-kind | Clean, modern, consistent |
🎯Best for you if:
- Natural dyes suit those looking for a chemical-free, artistic, and sustainable experience.
- Food coloring works best if you want fast, bold, and highly controlled results.
Final Thoughts
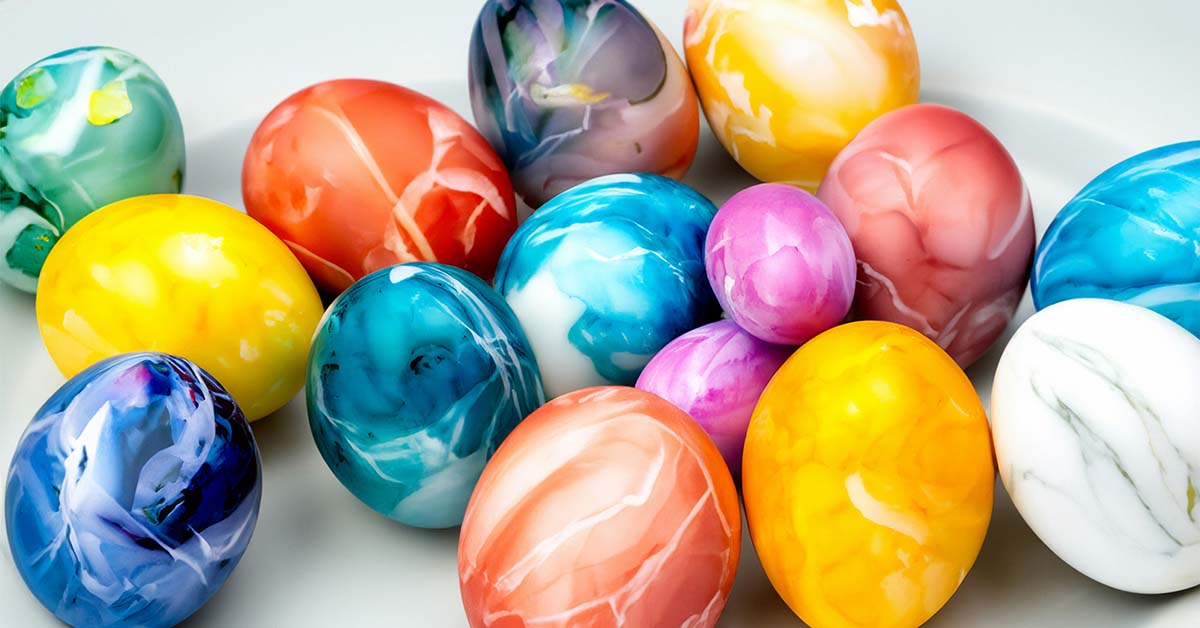
Whether you choose to dye your Easter eggs using vivid food coloring or beautiful plant-based dyes, the process is a joyful opportunity to create, experiment, and celebrate the season. Each method offers something unique—so don’t be afraid to try both and see what colors your Easter!
And if you’re short on time or just want beautifully decorated eggs without the mess, you can check out these ready-made Easter eggs available on Amazon.