
Have you ever looked out the window and watched snowflakes fall from the sky? Each one is different. That’s the magic of snowflakes! You can bring that magic indoors by learning how to make paper snowflakes. Whether you’re in 6th grade or 60 years old, this is a craft anyone can enjoy.
| Disclosure: This post may contain affiliate links and advertisements. We may earn a small commission or advertising fee at no extra cost to you. Learn more in our full disclaimer. |
I’ll walk you through everything—from basic folds to fancy designs. Let’s grab some paper and get started!
What Do You Need to Make Paper Snowflakes?
Before we jump into folding and cutting, let’s gather our supplies.
Must-Have Tools
Here’s what you’ll need to make your first paper snowflake:
- White paper (printer or origami paper works great)
- Scissors (make sure they’re sharp enough for clean cuts)
- A flat surface for folding and cutting
- Optional: Pencil for drawing your design before cutting
That’s it! Just a few items, and you’re ready to create snowflake magic.
How to Make Paper Snowflakes Step by Step
Here’s the quick answer if you’re in a hurry:
To make a paper snowflake, fold a square piece of paper into a triangle several times, cut shapes along the edges, then unfold.
Now let’s slow it down and go through each part.
Step 1: Start With a Square
Most snowflakes start with a square sheet of paper.
Tip: If you only have rectangular paper (like standard printer paper), fold one short edge across to the long side to form a triangle. Cut off the extra rectangle at the bottom. Now you have a perfect square!
Step 2: Fold the Square
This is where the magic starts.
- Fold the square in half diagonally to make a triangle.
- Fold that triangle in half again to make a smaller triangle.
- Fold it one more time (if the paper isn’t too thick). This gives more layers to cut for cooler designs.
Some people like to fold into thirds for more complex snowflakes. But for beginners, triangle folds work best.
Step 3: Draw Your Design (Optional)
Use a pencil to lightly sketch lines and shapes on your folded paper. This helps plan your cuts.
Try shapes like:
- Triangles
- Curved lines
- Tiny circles
- Zigzags
Avoid cutting all the way across, or your snowflake might fall apart.
Step 4: Cut Carefully
Cut along your lines or freestyle it. Try not to cut through the fold too much—this helps keep the snowflake whole.
Be slow and careful, especially around corners. The more shapes you cut, the fancier the snowflake will look!
Step 5: Unfold Your Snowflake
Gently open the folded paper and… wow! You’ve made your very own paper snowflake.
Tips for Making Beautiful Paper Snowflakes
Use Thin Paper
Thin paper is easier to fold and cut. Thicker paper may look pretty but is harder to work with.
Keep Your Scissors Sharp
Dull scissors make messy cuts. Clean edges make crisp, stunning designs.
Be Gentle When Unfolding
Paper snowflakes can tear easily. Unfold slowly to keep your design intact.
Try Colored or Patterned Paper
Snowflakes don’t have to be white. Use blue, pink, silver, or even glitter paper to make yours pop.
Easy Snowflake Patterns to Try
You don’t need to be an artist to make cool snowflakes. Here are a few ideas anyone can try:
Beginner
- Starburst: Cut triangle shapes into each edge.
- Hearts: Cut small hearts on the fold line.
Intermediate
- Swirls and curls: Mix curves and points.
- Tiny holes: Use a hole punch or careful snips.
Advanced
- Lace look: Add lots of tiny cuts for a lace-like style.
- Animal shapes: Try a snowflake with tiny birds or trees inside.
Experiment with your own ideas. The best part is that no two snowflakes are ever the same!
How to Make Paper Snowflakes Without Scissors
Yes, it’s possible! If you don’t have scissors, try this:
- Fold the paper as usual.
- Use your fingernails or a paperclip to press and tear shapes.
- Unfold and admire.
It won’t be as sharp, but it’s still fun!
Why Make Paper Snowflakes?
Making paper snowflakes is more than just a craft. It’s a calming, creative, and fun way to spend time.
Benefits of Making Snowflakes
- Relieves stress
- Boosts creativity
- Improves fine motor skills
- Decorates your space
- Fun for all ages
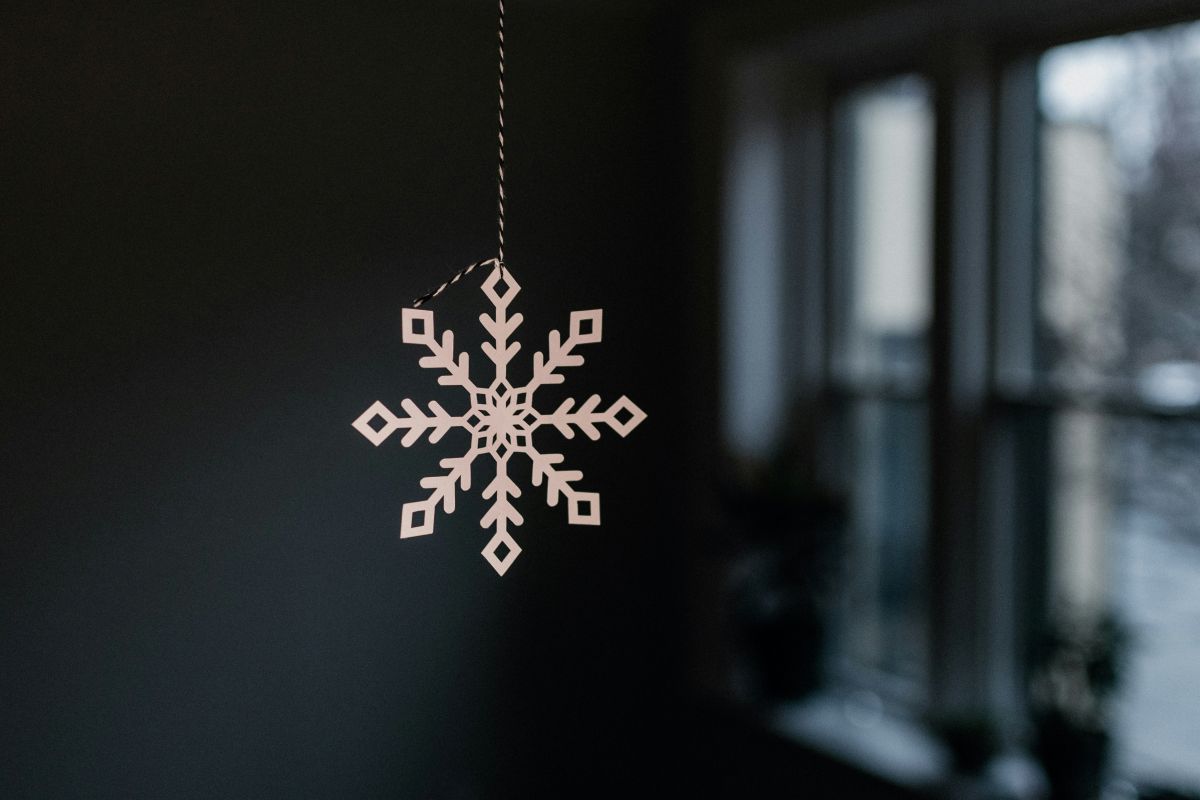
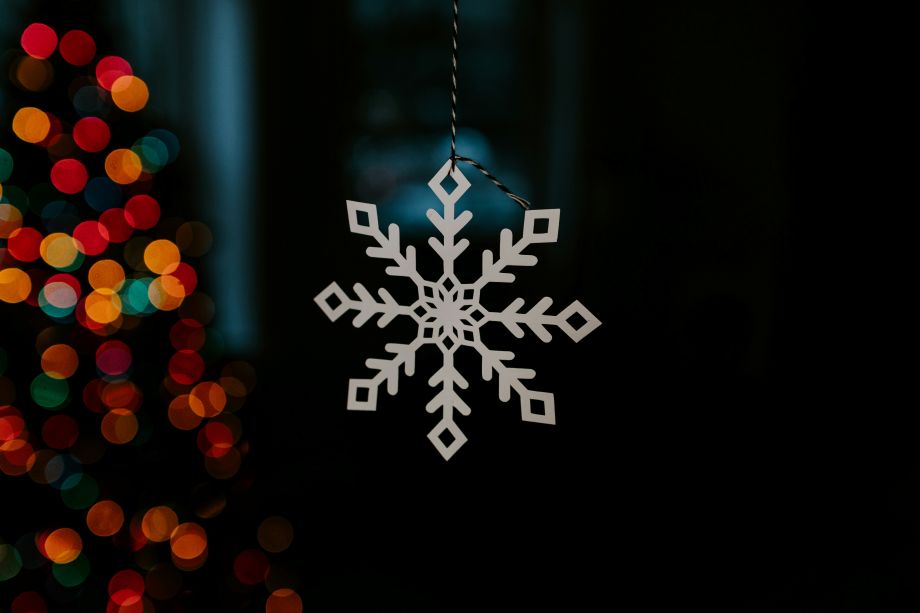
Snowflakes make great window decorations, holiday cards, or party crafts.
How to Hang or Display Your Paper Snowflakes
Now that you’ve learned how to make paper snowflakes, don’t just toss them aside!
Creative Display Ideas
- Tape them to windows for a wintery look
- Hang from the ceiling with string
- Make a snowflake garland
- Glue them onto cards or gift bags
- Stick them on walls or doors
Use tape, string, or tiny clothespins. The more you make, the cooler your room will look!
How to Make Giant Paper Snowflakes
Want to go big? You can make huge snowflakes using:
- Newspaper
- Wrapping paper
- Butcher paper
Just follow the same steps, but fold the larger sheet carefully. You’ll need more space, but the result is stunning.
Make It a Group Activity
Snowflake-making is even more fun with friends and family.
Try This:
- Snowflake contests
- Decorating parties
- Classroom art projects
- Holiday table centerpieces
All you need is paper, scissors, and a little imagination.
Quick Troubleshooting Tips
Snowflake ripped? Try folding fewer times or using stronger paper.
Too simple? Add more shapes or smaller cuts.
Too hard? Use simpler folds and focus on easy shapes.
Remember: even mistakes can look amazing once you unfold your snowflake.
Final Thoughts on How to Make Paper Snowflakes
Learning how to make paper snowflakes is simple, fun, and magical. With just paper and scissors, you can create your own winter wonderland right at home.
Every snowflake is a surprise. That’s part of the fun! So don’t stress if your cuts aren’t perfect. Just fold, cut, and enjoy the magic.
Go ahead—grab some paper and give it a try. You might be amazed by what you create!